Part 1
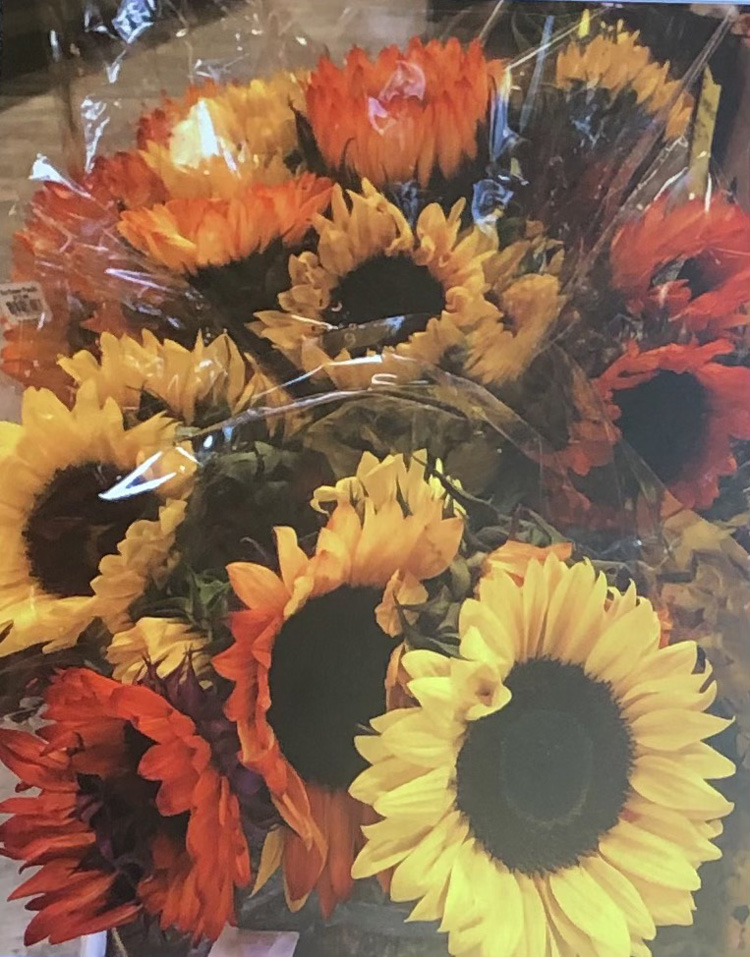
I have read that sunflowers are the happiest flower. I don’t know if that is true, but the day I saw these flowers, one morning during my grocery shopping, they bought me pure joy as I snapped photos with my camera phone. All the colors and details… I knew it would be a fascinating, and challenging, image to paint. There’s not a strong light source since the photo was taken inside, but I’m hoping the highlights of the cellophane wrap will be interesting enough to make up for the lack of deep shadows. As I work on this painting, I will be taking photos and explaining what I’m doing. Here is the original photo:
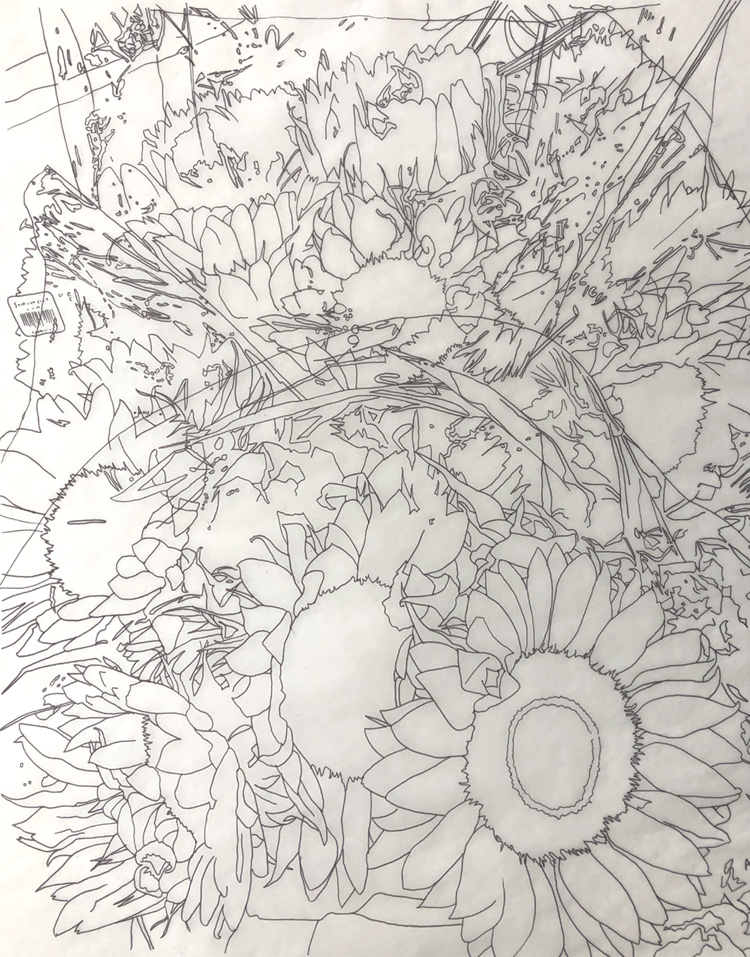
It took me six hours to sketch and transfer the image to watercolor paper. I’m using a new type of paper this time (Arches cold press 140 pounds) on the back side of paper. I usually use Strathmore cold press, but I’ve notice issues with the sizing lately, so I wanted to try something new. The paper is slightly softer to touch and a little more evenly textured than Strathmore.
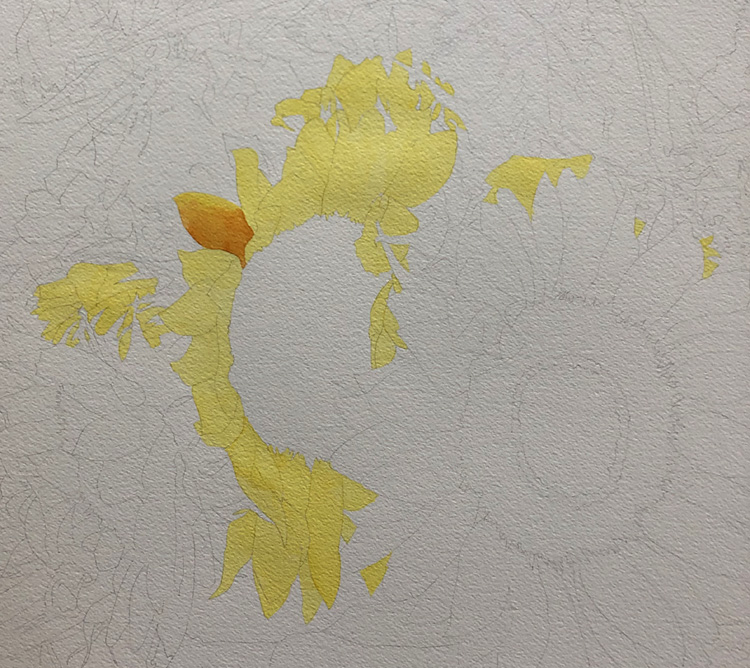
The beginning of a painting is the most exciting part and I can’t wait to start. I’m beginning to paint with a base of cadmium yellow in order to “find” the petals. In a complicated sketch like this, it is extremely helpful so you don’t lose your place. For the second coat, I begin to add the local color. After that, I add all the details and texture to the petals. By clicking on each image, you can see a close up of each step of the painting.


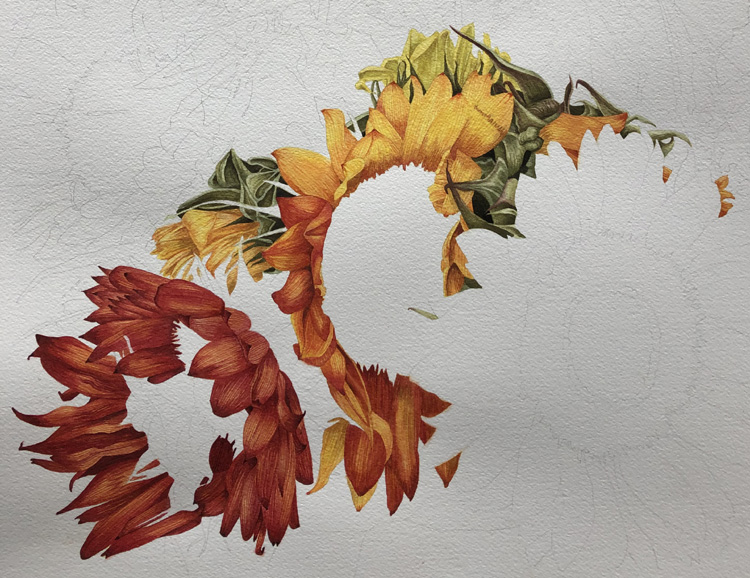
Next, I start laying out the green leaves. I want them to have cool colors to contrast with the warm sunflowers. These leaves are not behind cellophane wrap, so they need to be sharp and clear. I repeat the steps of a base color, gradations, shadows, and then details.


I am moving on to the red and yellow sunflowers next. I use the same steps as the other flowers. I’m avoiding the dark centers of the flowers right now, because watercolor will spread and I don’t want any dark color bleeding into the petals and ruining their bright colors.

To be continued…
